Diagrams of the human body can be dry to teach.
BUT, they’re also generally necessary when you’re talking about body systems or cells or feedback loops or cellular processes…you get idea.
Diagrams are so important for student understanding! Structure and function are inextricably linked, so it’s important for learners to be able to look at something, identify it by name, and then be able to explain what they know.
Diagrams can be a jumping off point for questions, as well! For example:
-Why is the pancreas situated where it is in the digestive system? Why does this make sense based on its role in the body?
-Why does my diagram of a cell in interphase show DNA all stringy and mixed up like spaghetti, but shows compact chromosomes during mitosis?
-Based on what you know about the structure and function of parts of the brain, what do you think might happen if someone gets hit really hard in the back of the head?
But let’s face it – throwing a diagram of up on the board and having students label it or – even worse – handing out a photocopy of a fully labelled body system diagram is boooooring. And I hate when things are boring.
Which is why I always introduce students to diagrams in this fun way. Stick with me!
Here are the steps to making filling out diagrams fun and engaging while helping content stick in kids’ brains.
I’ll use the example of the heart and lungs.
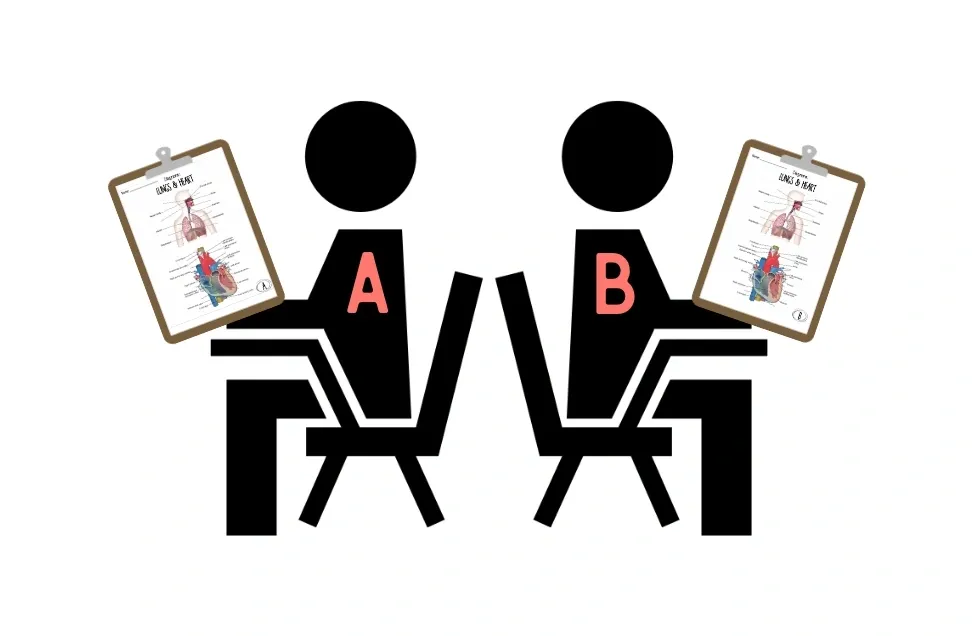
1) Create a Version A and a Version B of the diagram. If the total diagram has 14 things to label, Version A will have half of them filled in already. The other half will be blank. Version B will also have half of the structures labeled, but they will be the opposite half compared to Version A. (Note: it is best not to number the blank spaces)

2) Have students pair up. In each pair, one student must have Version A and the other student must have Version B. If there is a group of 3, just make sure that both versions are represented.

3) Students in a pair will sit back-to-back. Without looking at each other’s papers, they need to talk to each other and fill out their completed diagrams. That’s it!

This is an activity that takes no extra time compared to copying down the answers from the board. It gets students moving around. It has students speaking and spelling the terms that we’re trying to anchor in their brains. It has students describing structures or locations of elements of the diagrams. It often ends with students giggling as they try to pronounce crazy terms.
Guys – it’s SO easy. Give it a try and let me know how it goes!
And if you’re interested in this specific set of diagrams, click here to grab the freebie from my TpT store!
Scientifically yours,
Mo
Interested in weekly science teaching tips? Click here!
Interested in other blog posts? Check out:
March Mammal Madness: What’s all the hype about?